
WSL Edition
Installing ParrotOS on WSL (Windows Subsystem for Linux)
Compatible with the latest versions of Windows 10 and Windows 11.
Currently, only the Core Edition is available. A complete Security Edition will probably be released in the future.
However, any tool from the Security Edition can be installed using apt.
Installing WSL
Section titled “Installing WSL”If you already have WSL installed on your machine, you can skip this section.
Open up PowerShell or Terminal as administrator (Right click -> Run As Administrator), and type wsl --install.
If you see the help text, that means you have WSL already installed; otherwise, wait for the installation to finish.
Running ParrotOS WSL
Section titled “Running ParrotOS WSL”Manual Install
Section titled “Manual Install”Download the .wsl archive containing the necessary files from the ParrotOS website.
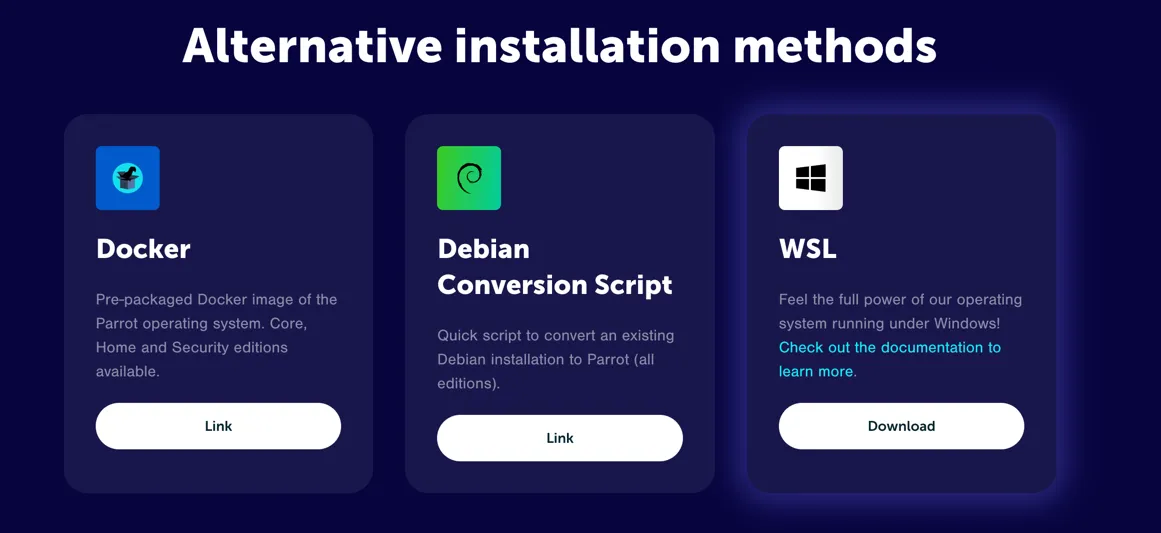
Double click parrot-core_*.wsl and an installation window will pop up.
Now, enter your username and password for your user account.

Your WSL “Hard Drive” will be created as a .vhdx file in the folder where you launched the installer.
All updates can be performed via standard apt upgrade/update. However, if you wish to rerun the installer, you must run wsl --unregister parrot, and rerun the .wsl file.
Congrats, you now have a working ParrotOS WSL instance!
Microsoft Store
Section titled “Microsoft Store”Coming soon…
Troubleshooting
Section titled “Troubleshooting”Packages requiring SystemD (i.e., PowerShell Empire) do not work on default installs.
This can be fixed, however, by editing /etc/wsl.conf and adding:
[boot]systemd=trueFinally, restart your WSL instance.
Unknown Issues
Section titled “Unknown Issues”Please open an issue in The WSL Gitlab Project for any bugs you encounter.