Persistent partition
This guide shows how to create a persistent partition on a USB drive with Parrot OS. To do this, we will use the mkusb tool.
Install mkusb
Section titled “Install mkusb”Before downloading the tool, ensure you have the necessary dependencies installed:
sudo apt update && sudo apt install gdisk dialog zenity -yAfter downloading the Parrot OS .iso file from our website, download mkusb from the repository:
git clone https://github.com/sudodus/tarballs.gitNavigate to the downloaded folder and unpack dus-plus.tar.xz using tar:
cd tarballs && tar -xf dus-plus.tar.xzGo inside the newly extracted dus-tplus folder, and install the tool by typing:
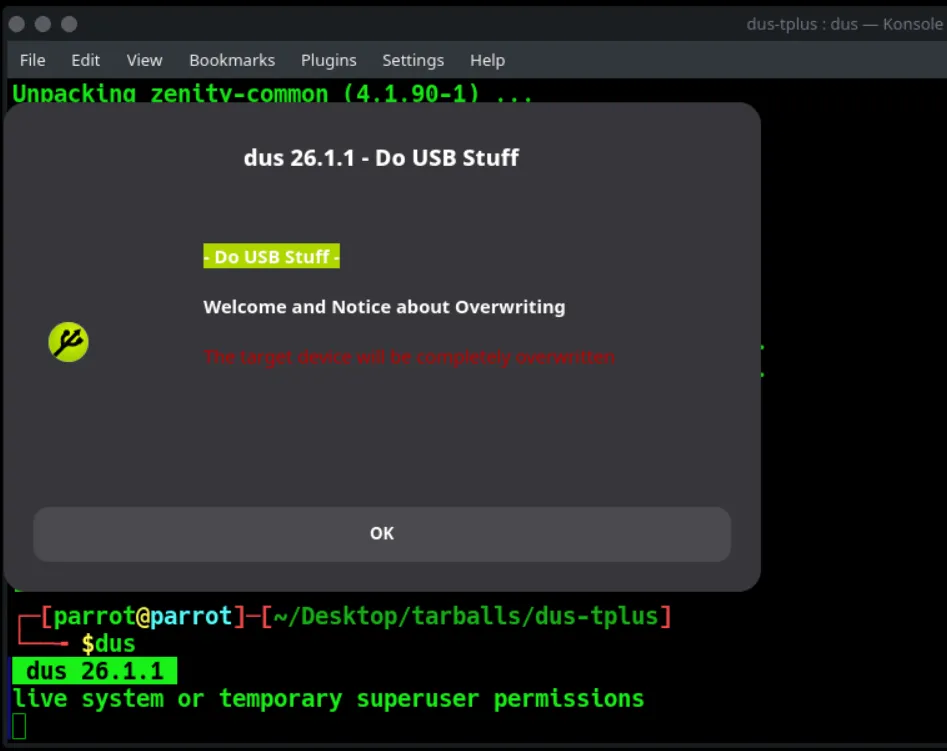
cd dus-tplus/ && sudo ./dus-installer iIn the same terminal session, type dus (or open guidus from the Parrot menu) and it will start. You will be greeted by a warning about overwriting the target device. Click OK.
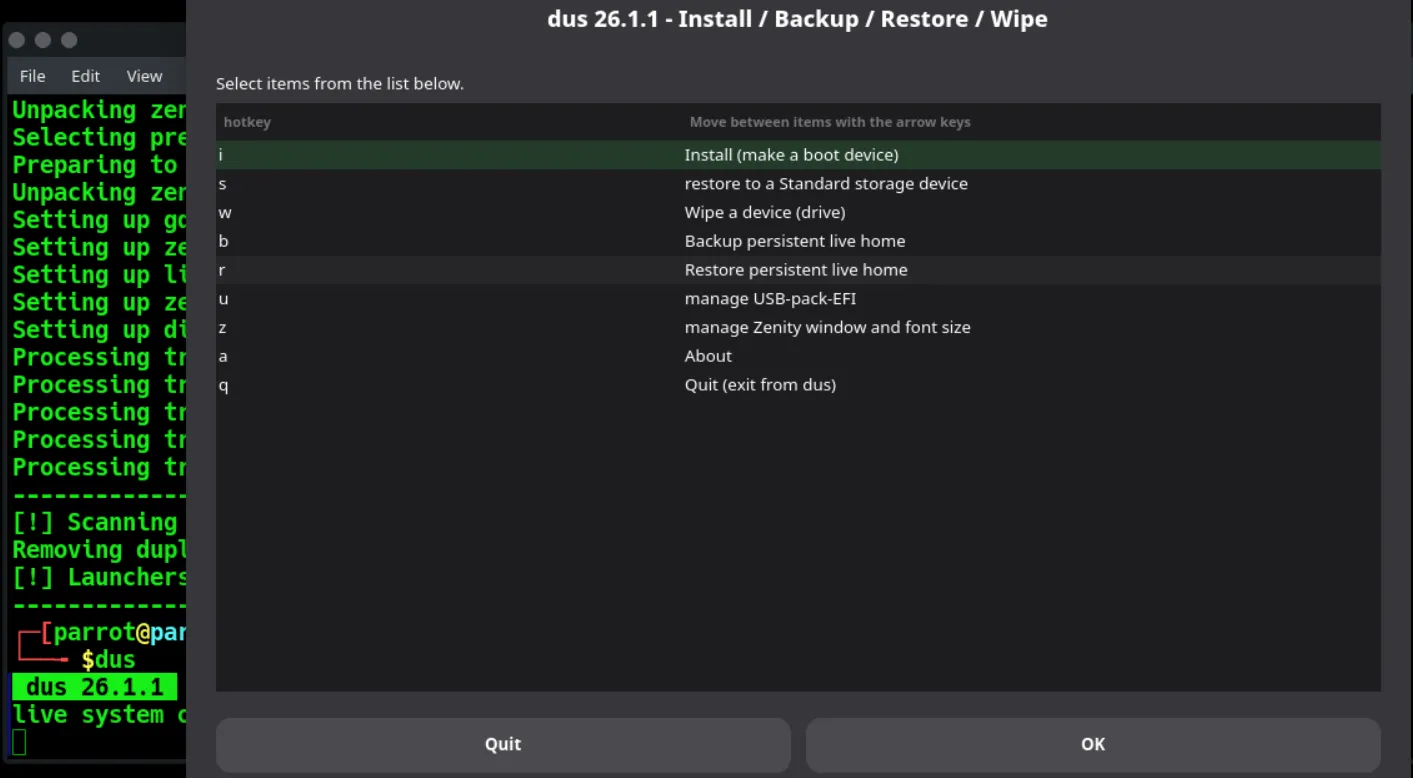
This tool can also be used to make a USB bootable, restore, format, and perform other operations.
Create the persistent partition
Section titled “Create the persistent partition”From the main menu, select i - Install (make a boot device). Then, select the p - ‘Persistent live’ option.
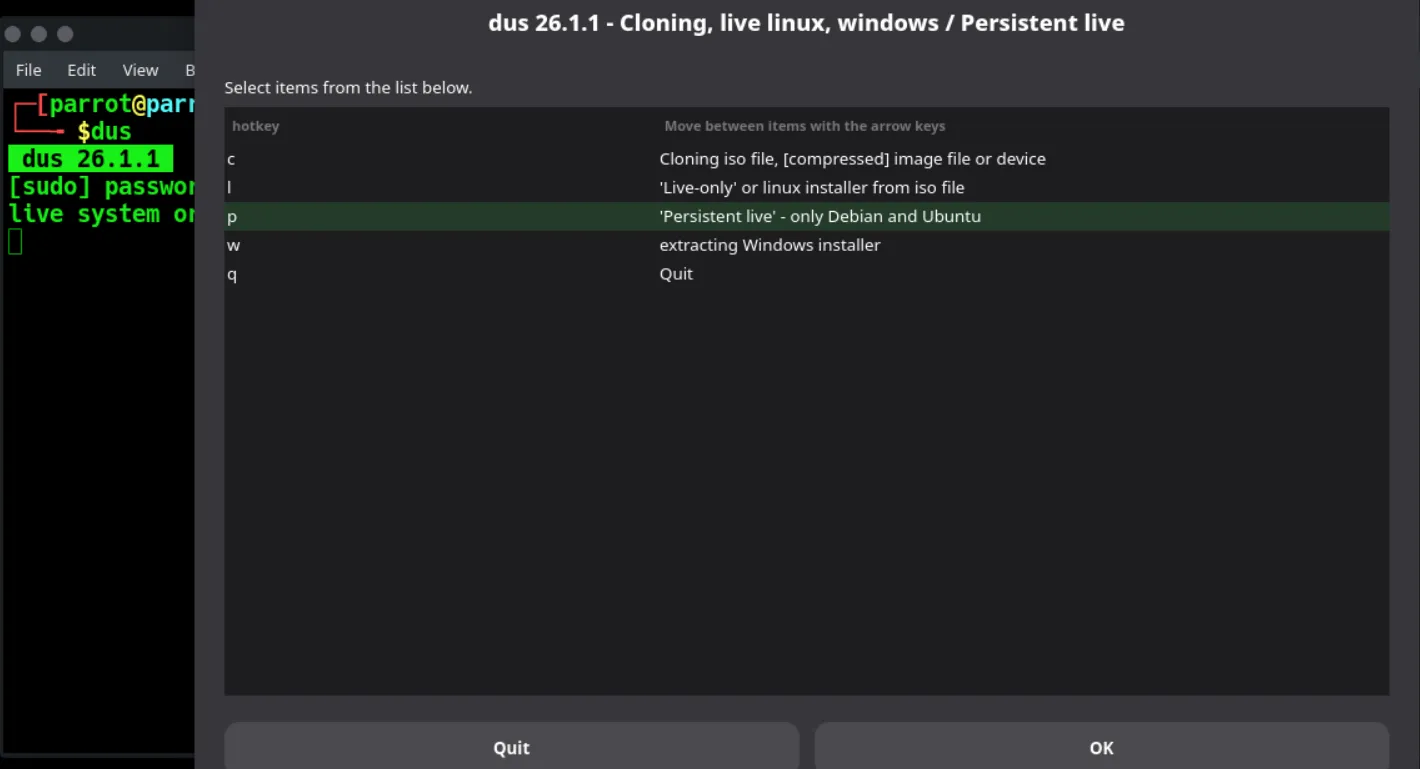
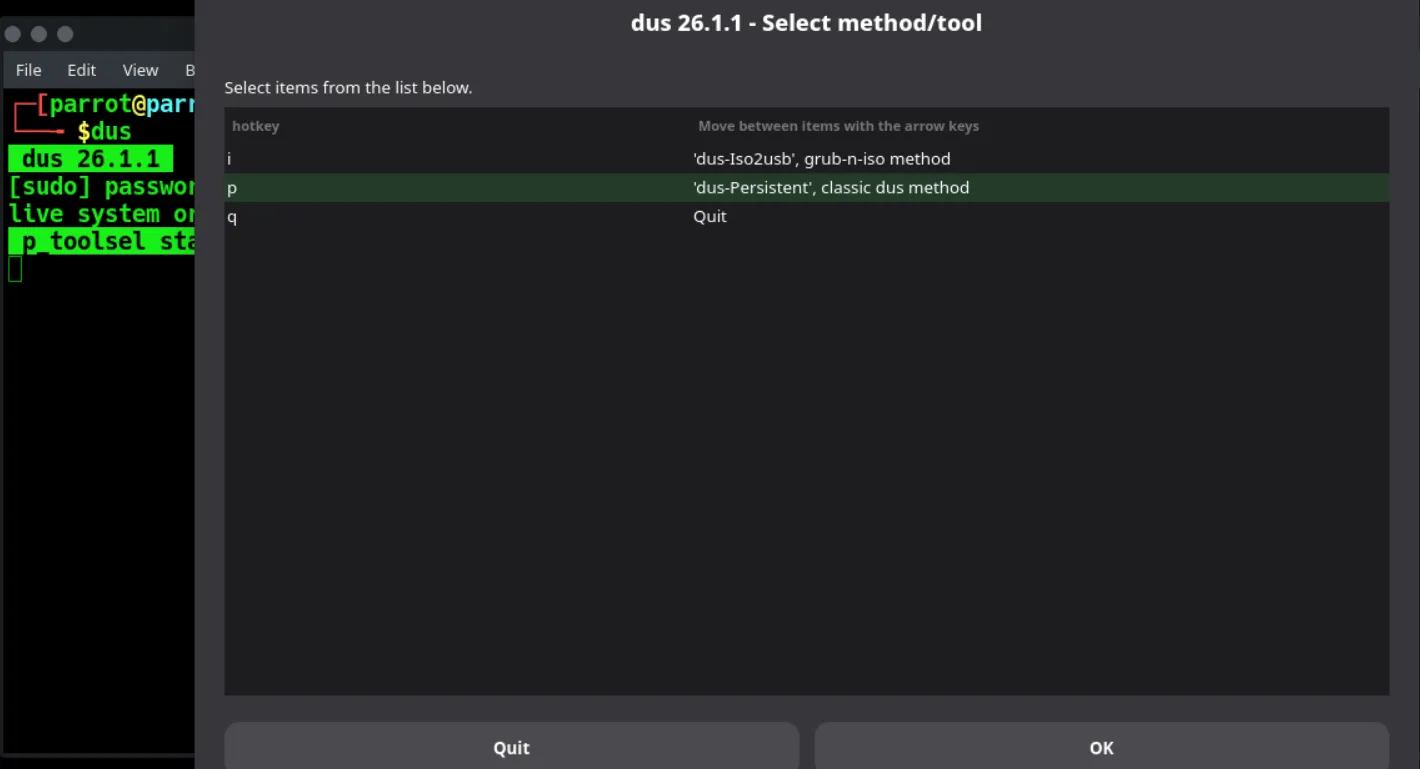
Select p - ‘dus-Persistent’ from the menu to choose the method to create the persistent partition.
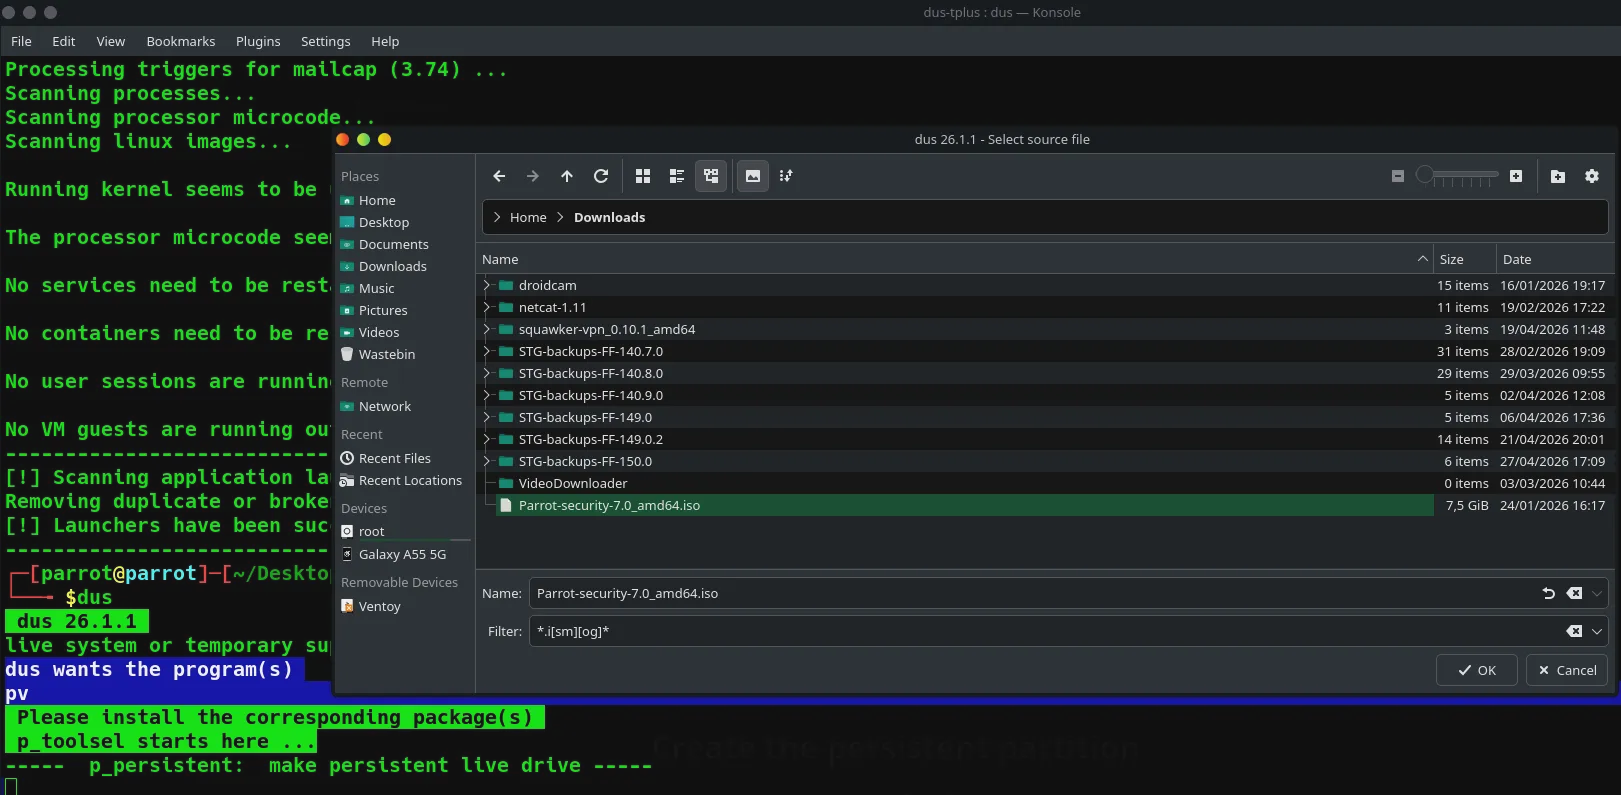
Now select the .iso file you want to install:
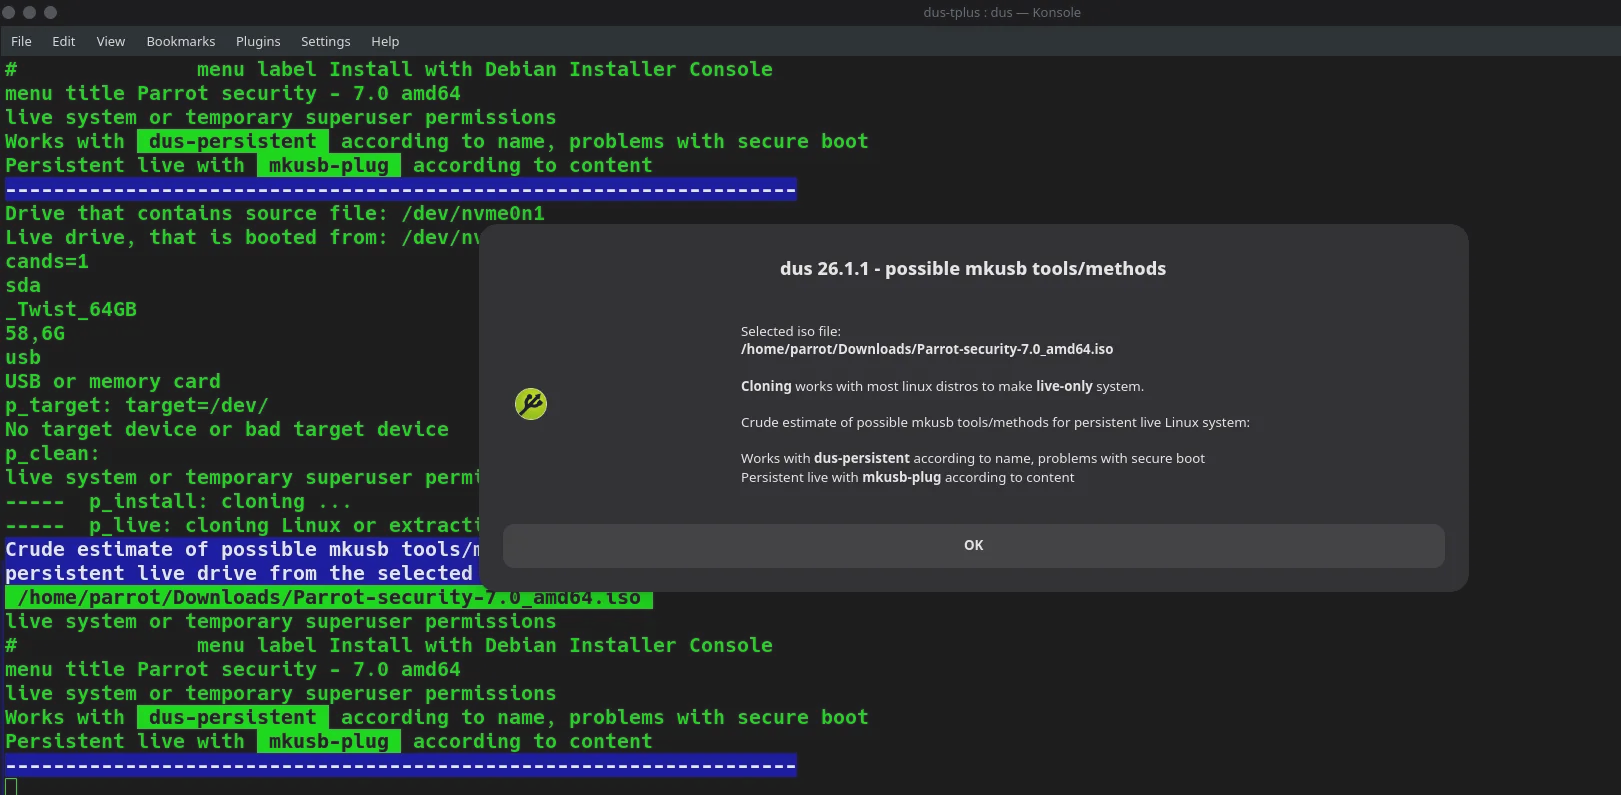
An information window will appear detailing the possible methods. Click OK to proceed.
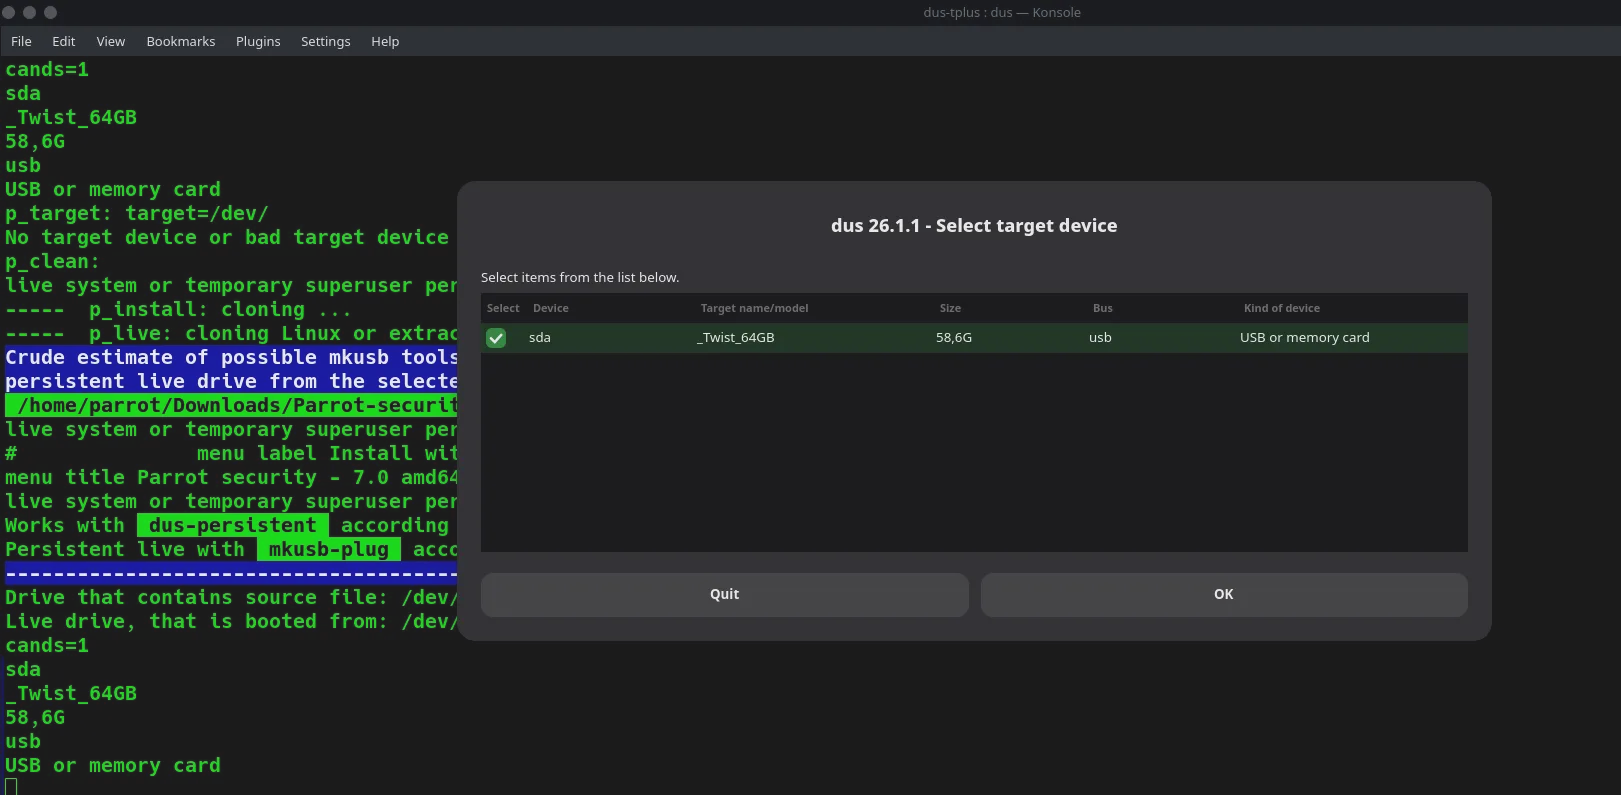
Select the USB drive where you want to install Parrot OS (we recommend using at least a 4GB USB drive) and click OK.
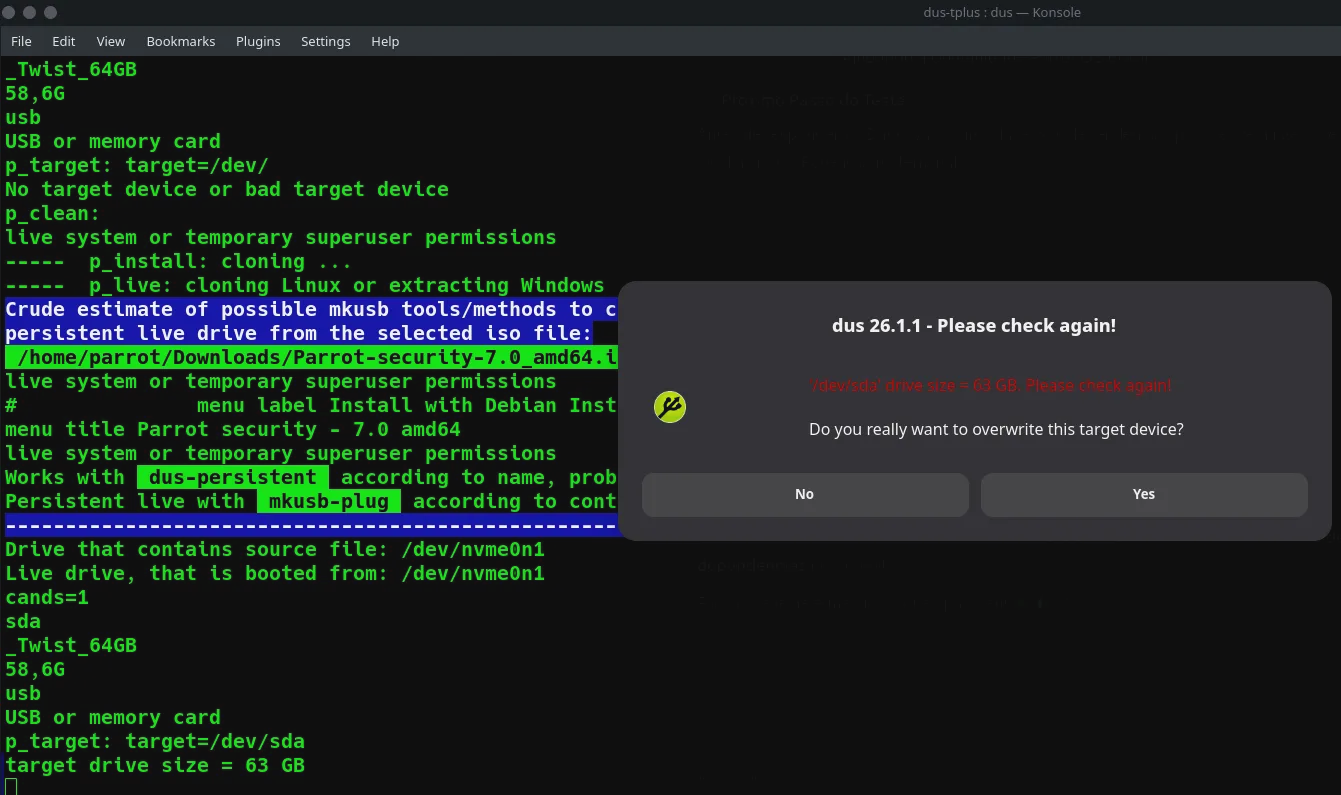
A warning prompt will appear asking you to verify the drive size. Click Yes to confirm you want to overwrite this target device.
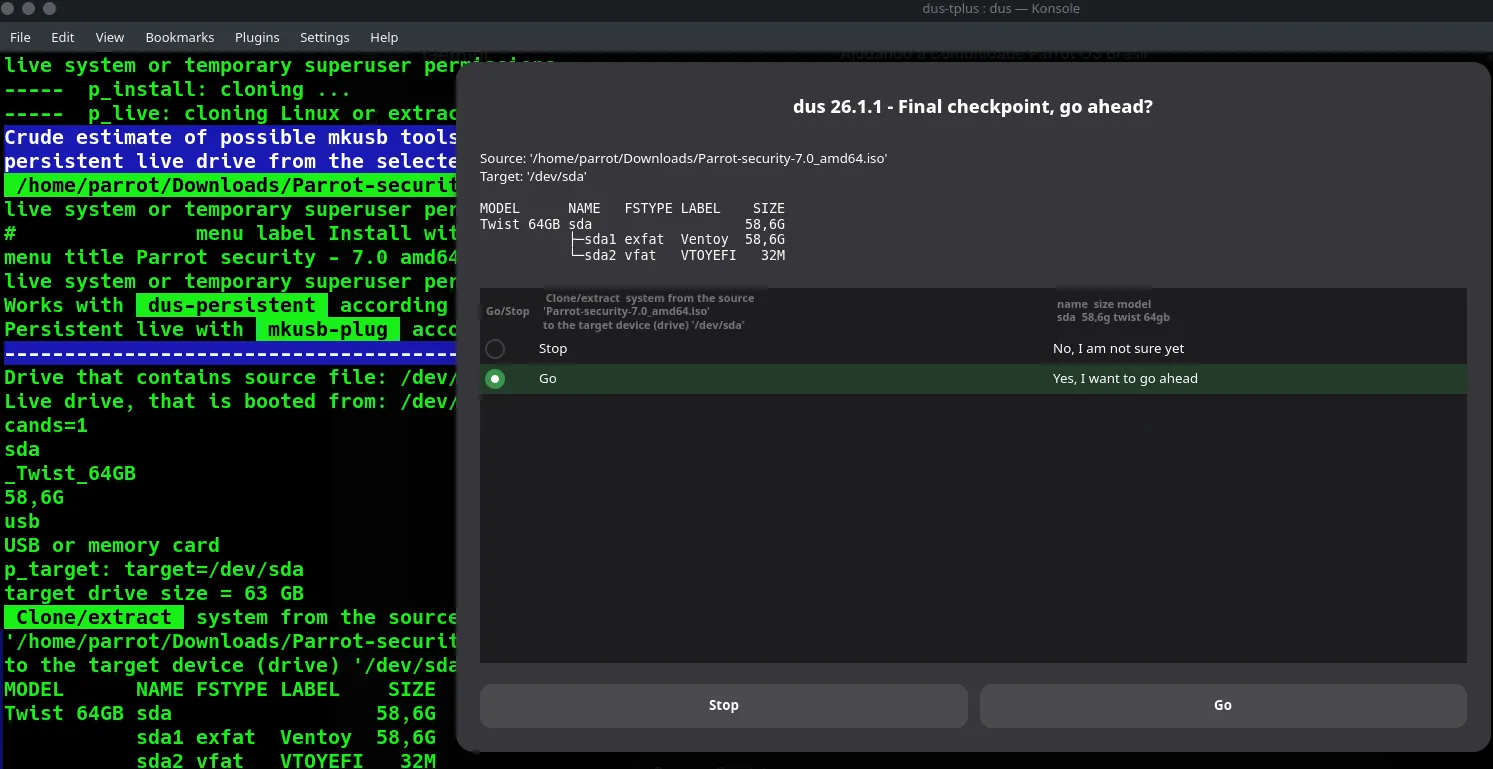
At the final checkpoint, select the Go radio button and confirm the operation. The persistent partition will be ready in a few minutes.
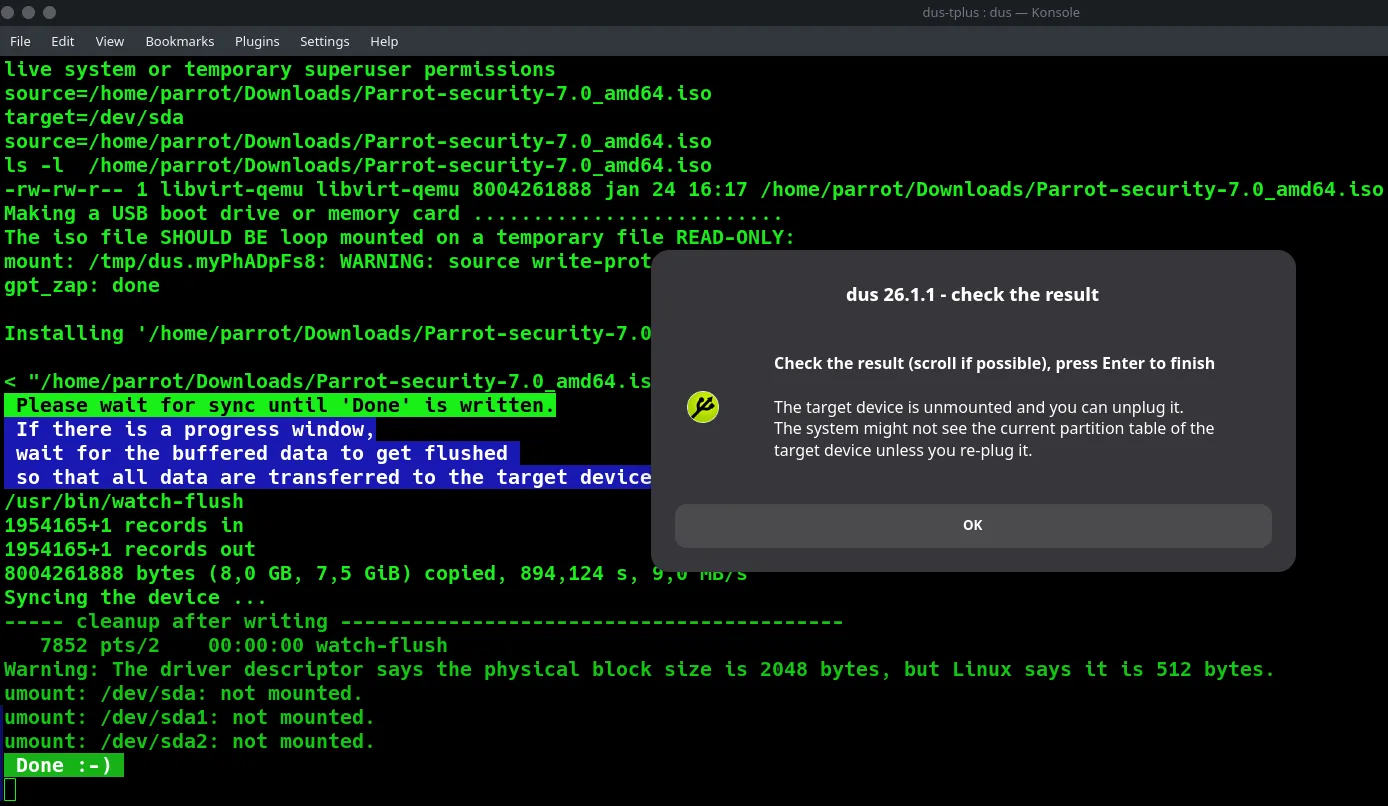
Once the process is complete, a success window will appear. Press Enter or click OK to finish.