
Installing QEMU/KVM, Virt-Manager, and GNOME Boxes on Debian
This guide will help you set up a virtualization environment on Debian-based systems, including Parrot OS, using QEMU/KVM, Virt-Manager, and GNOME Boxes.
Update your system
Section titled “Update your system”First, make sure your system is up to date:
sudo parrot-upgradeInstall QEMU and KVM
Section titled “Install QEMU and KVM”Install the necessary packages:
sudo apt install -y qemu qemu-kvm libvirt-daemon-system libvirt-clients bridge-utilsTo launch Virt-Manager, use the command:
virt-manager
To launch Gnome Boxes, use:
gnome-boxes
Verify CPU virtualization support
Section titled “Verify CPU virtualization support”Check if your CPU supports hardware virtualization:
egrep -c '(vmx|svm)' /proc/cpuinfoIf it is ≥1, we are ready to use KVM.
Add your user to the libvirt and kvm groups
Section titled “Add your user to the libvirt and kvm groups”This allows running virtual machines without sudo:
sudo usermod -aG libvirt $USERsudo usermod -aG kvm $USERVerify KVM installation
Section titled “Verify KVM installation”virsh list --allIf there are no errors, your KVM environment is ready. You can now create and manage virtual machines using Virt-Manager or GNOME Boxes.
Using Gnome-Boxes
Section titled “Using Gnome-Boxes”After installing the package, Boxes will be ready to use.
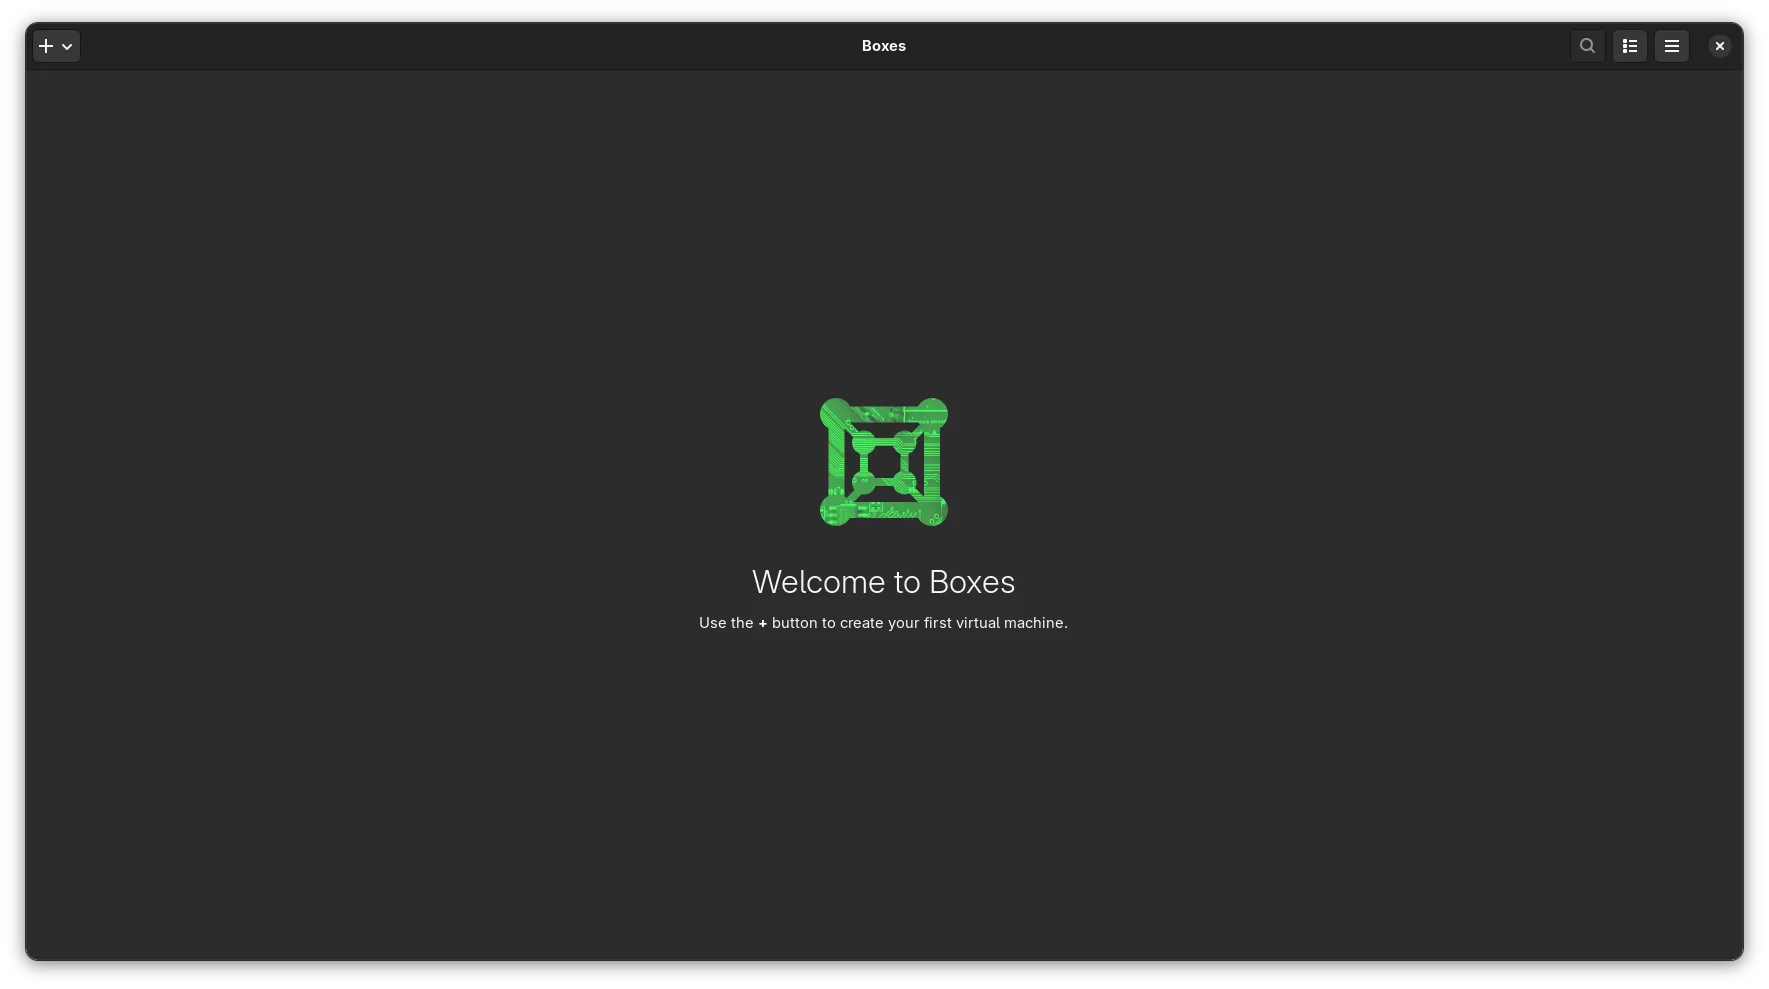
When clicking Create New Virtual Machine, you will have two options. Select the first one. You can use either an .iso or a .qcow2 file.
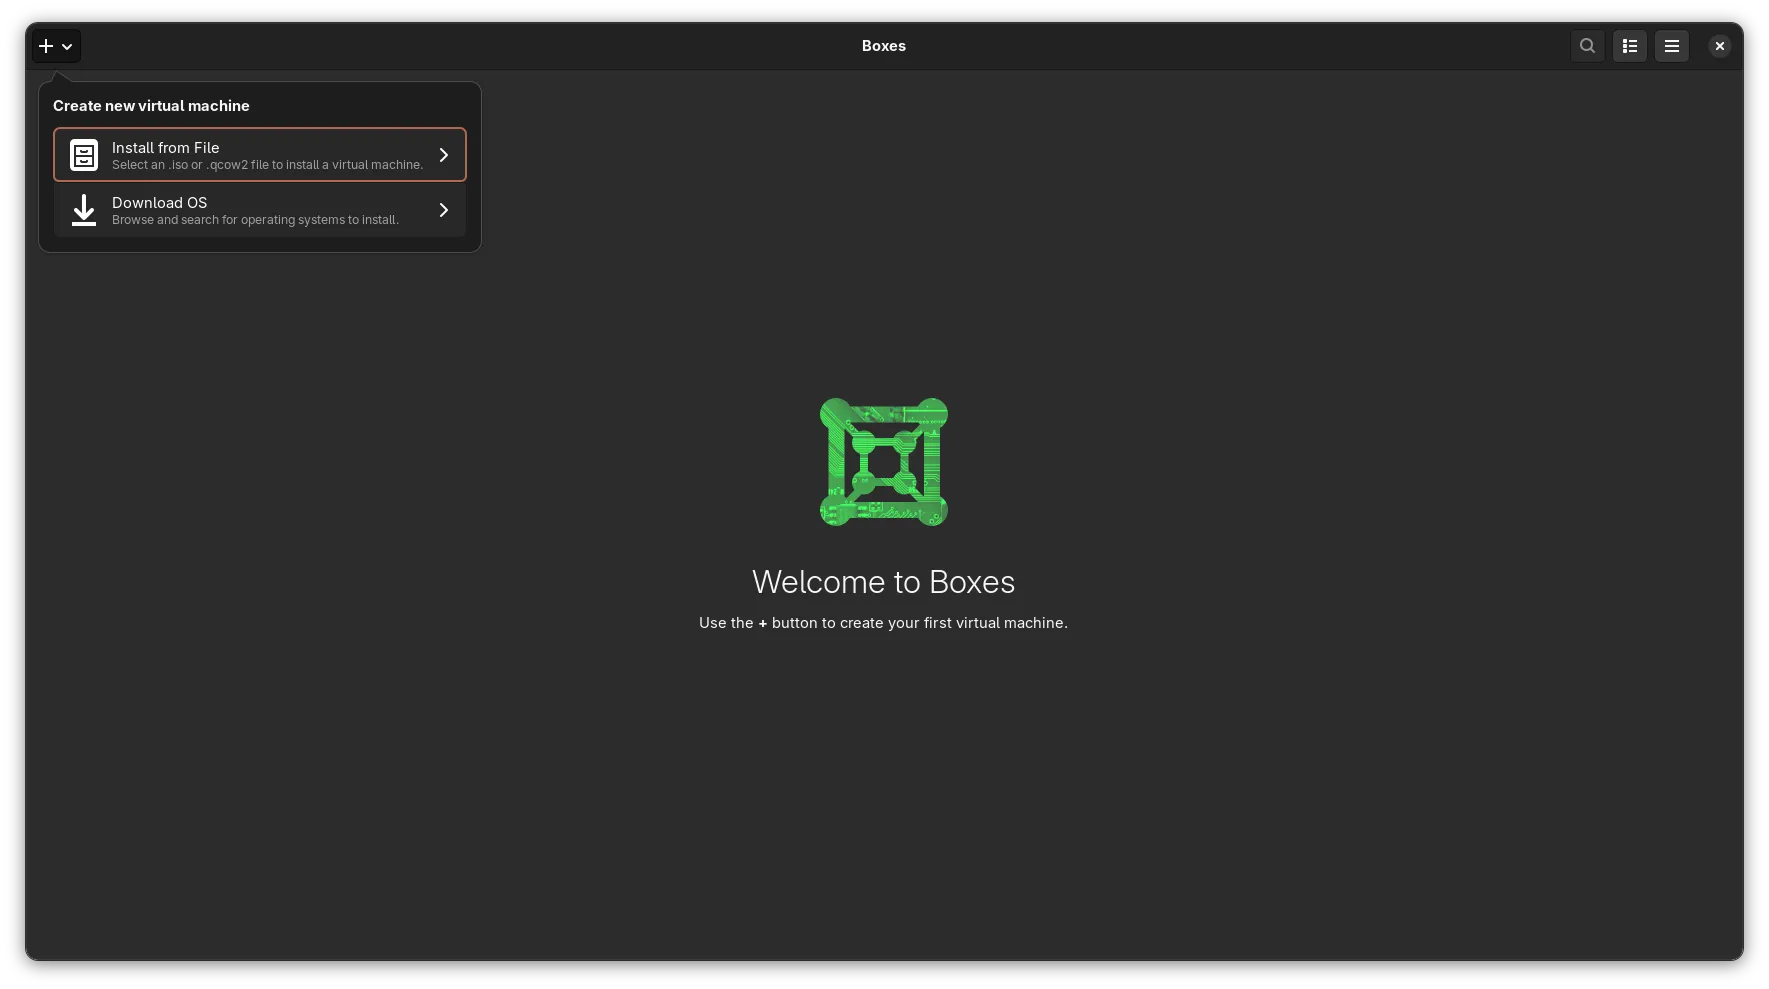
With the ISO selected.
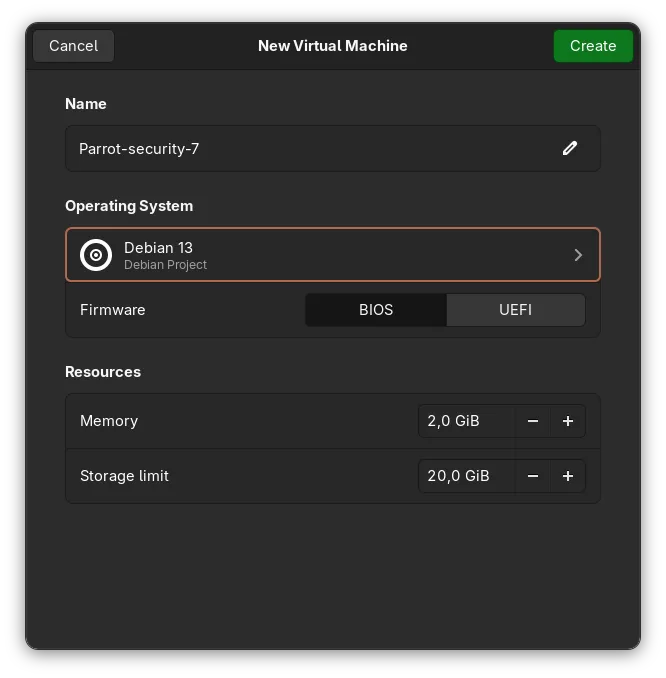
It is important to disable automatic OS detection. You should manually select the option that best matches the distribution your ISO is based on.
At this point, your virtual machine will be created and ready to use. Of course, each user can choose the resources they want to allocate.
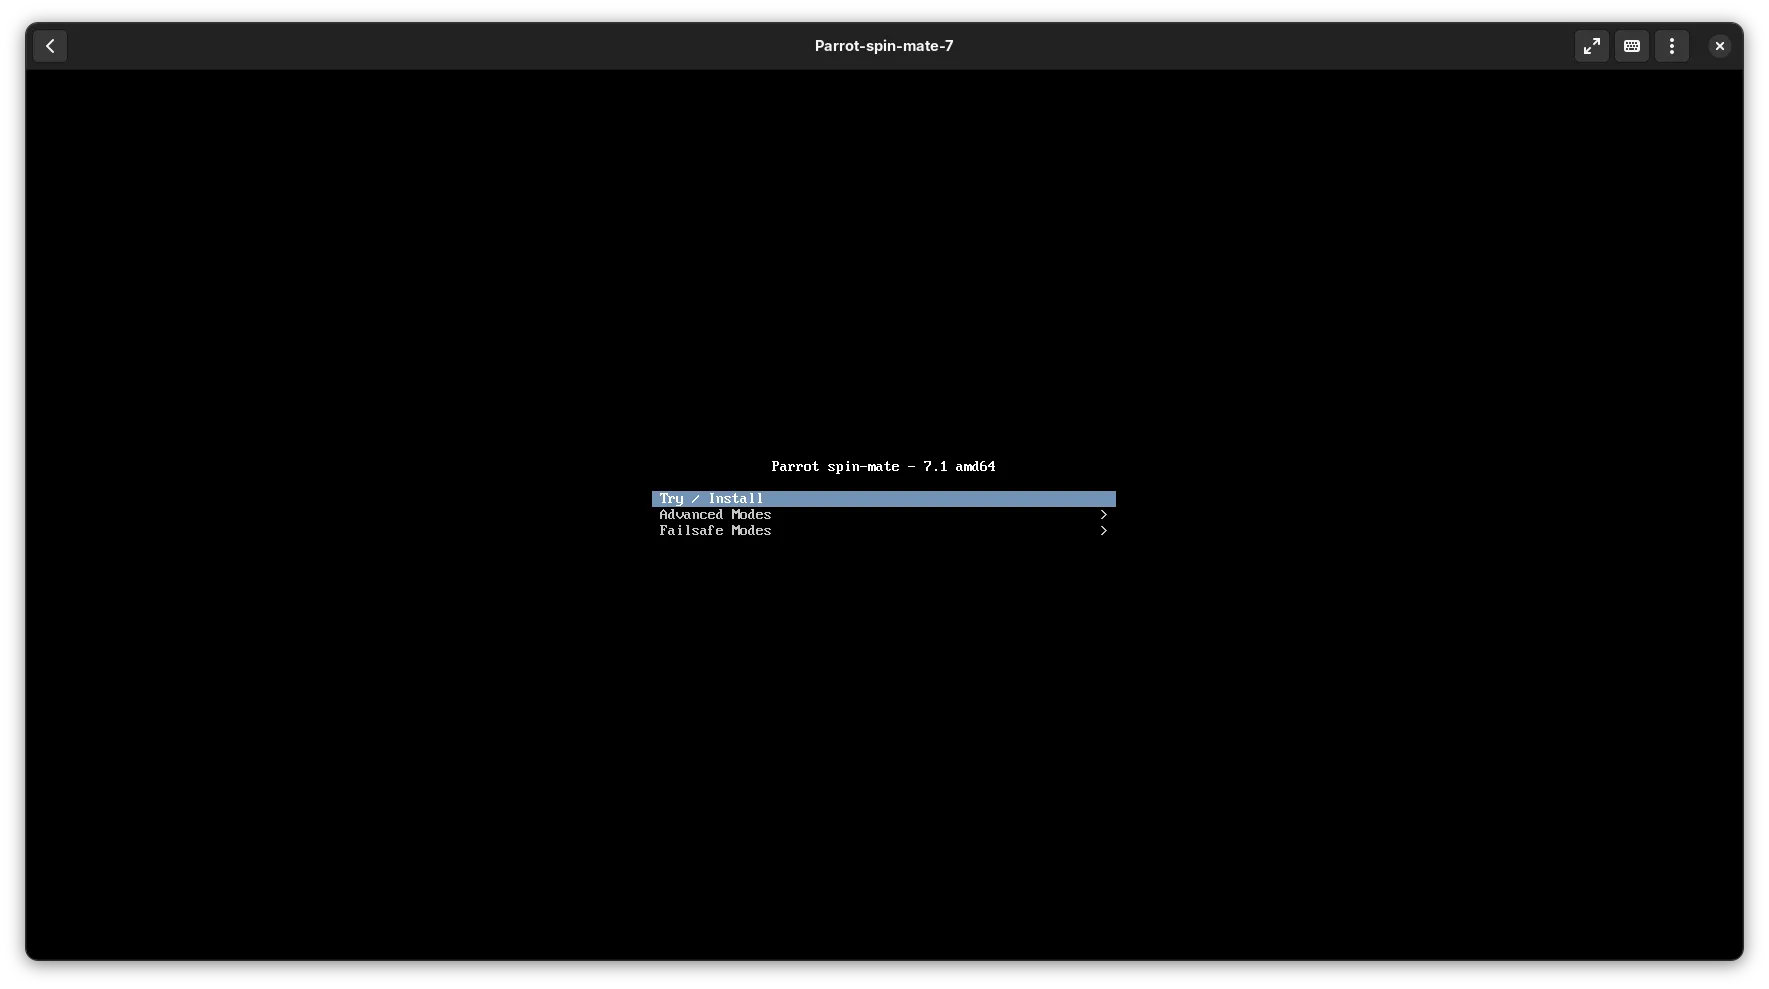
If you want to adjust additional settings from the beginning, you can open the Preferences menu.
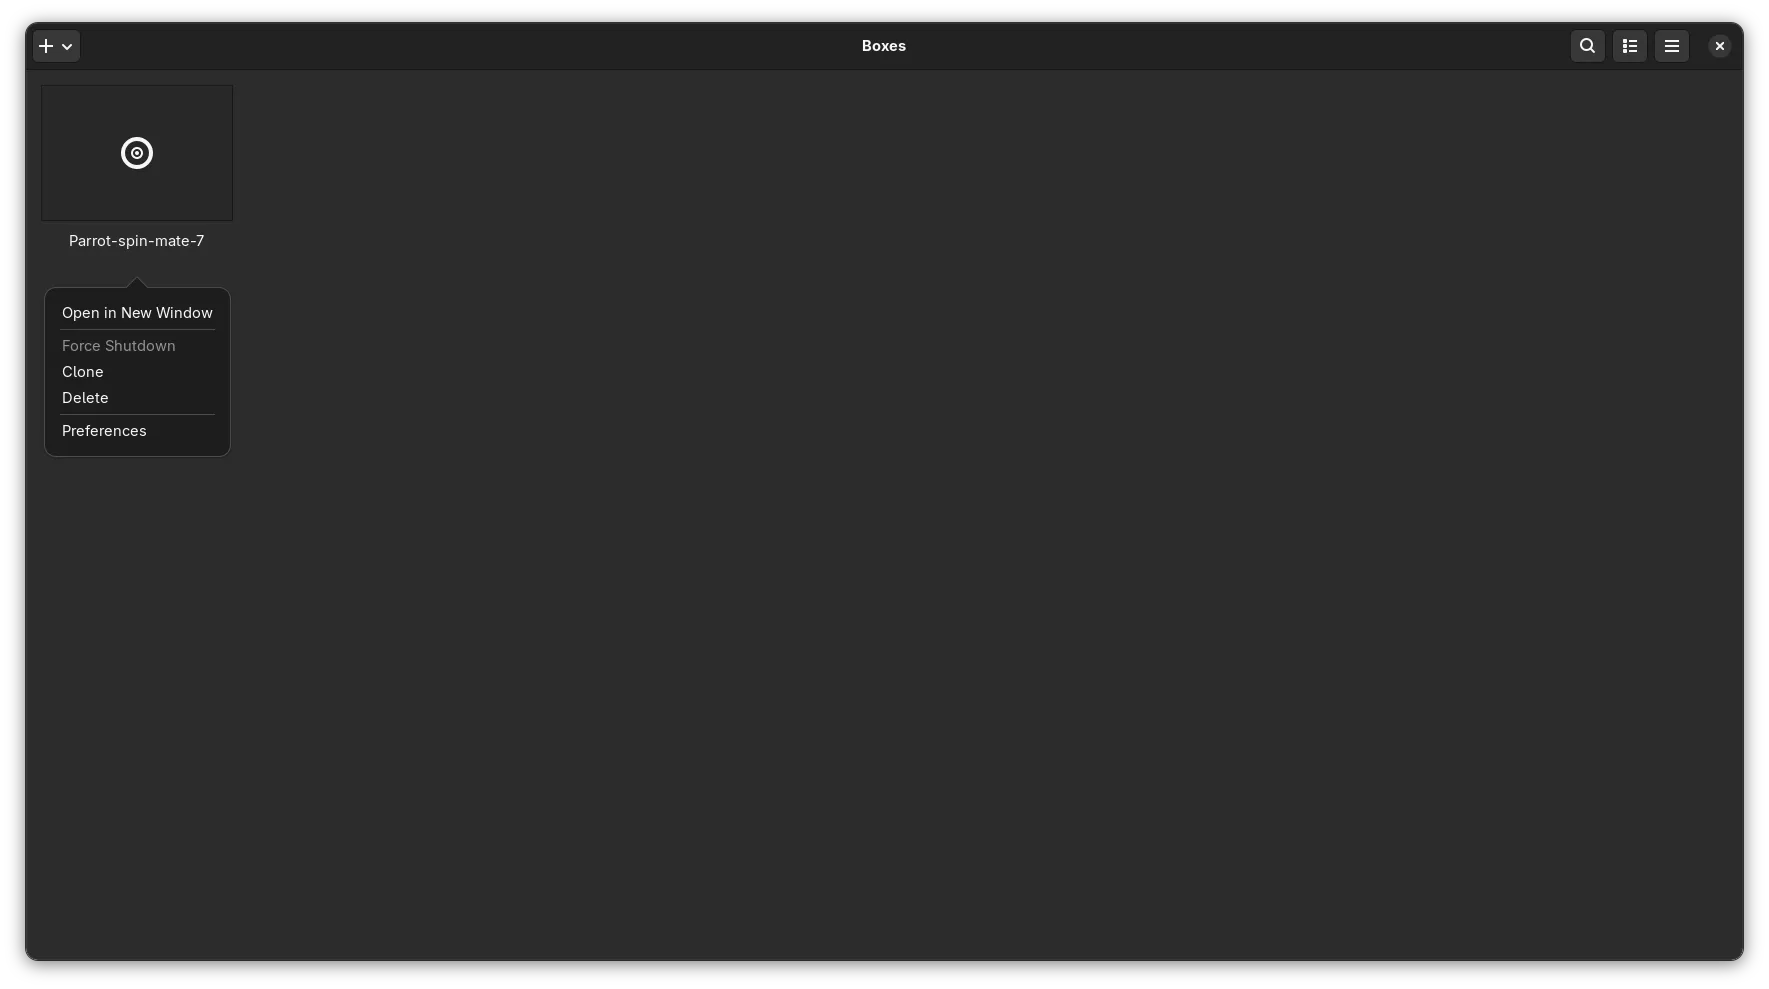
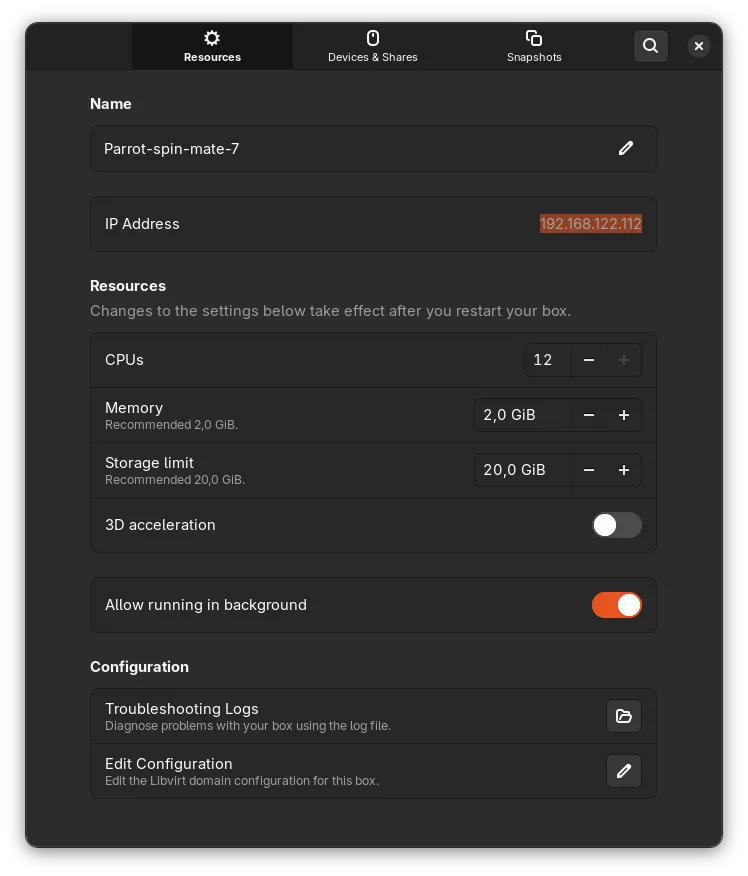
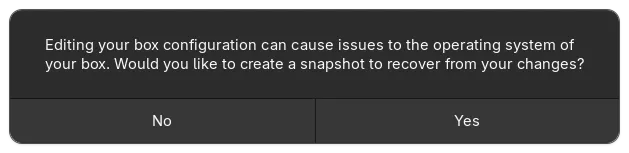
If you want to access more advanced settings, you can do so from Edit Configuration.
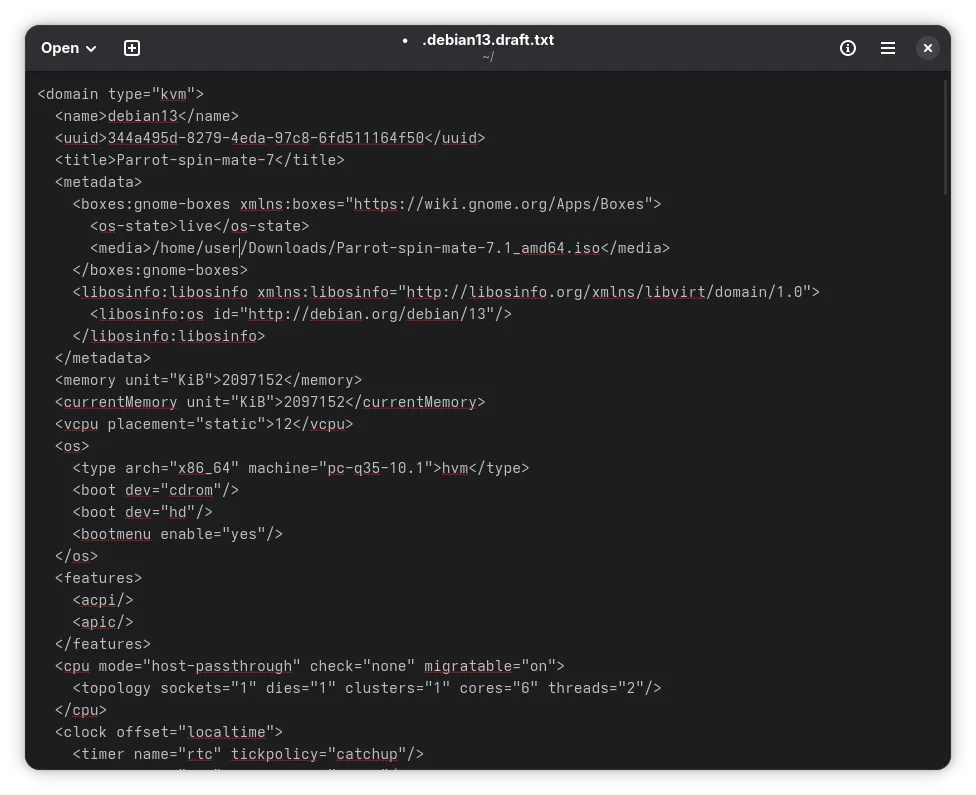
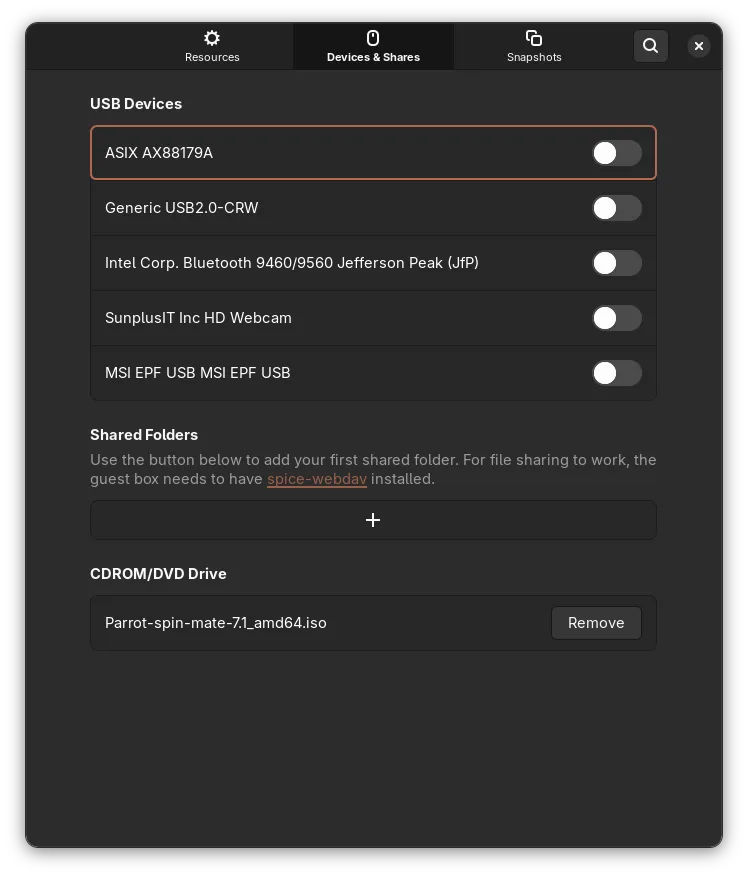
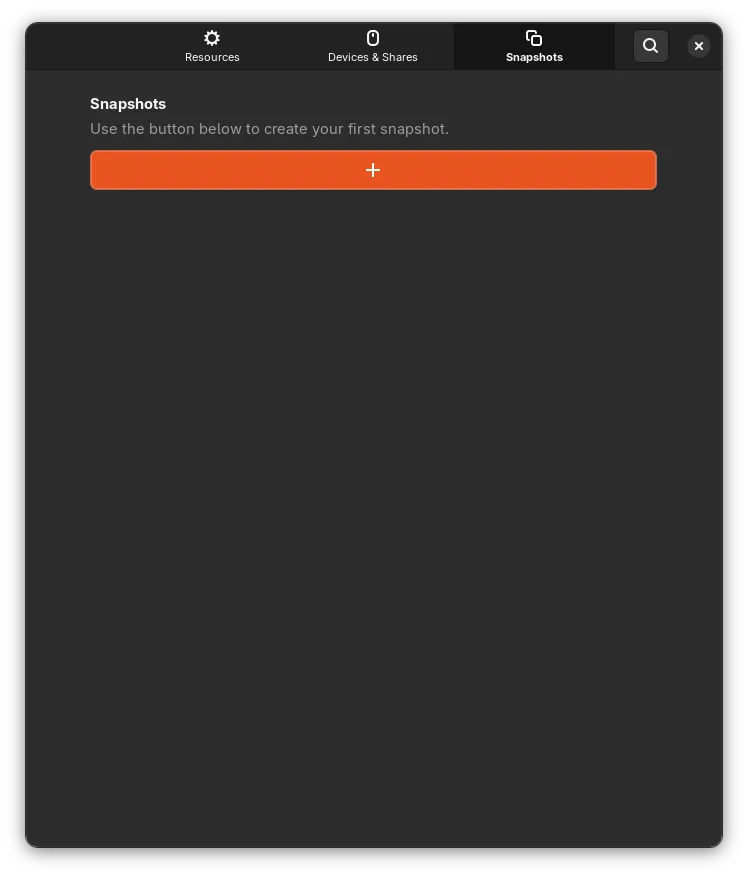
Done. From here, you can follow the standard Parrot OS installation procedure.
Using Virt-Manager
Section titled “Using Virt-Manager”After installing the package, Virt-Manager will be ready to use.
The steps are similar to the previous ones. Only a few-point change, which will be detailed below.
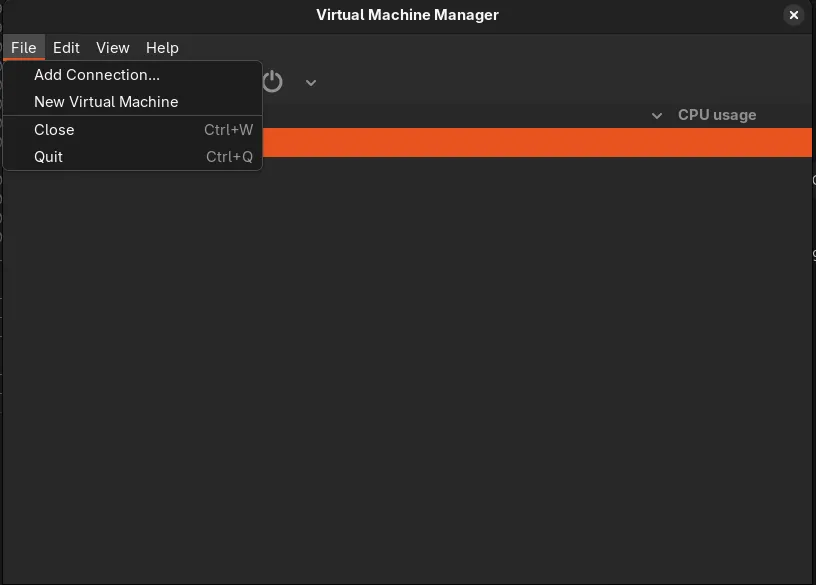
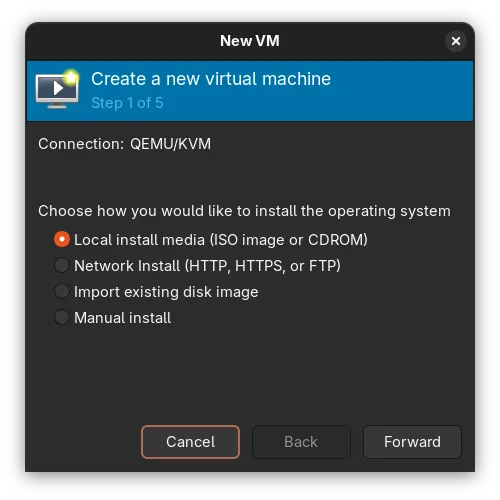
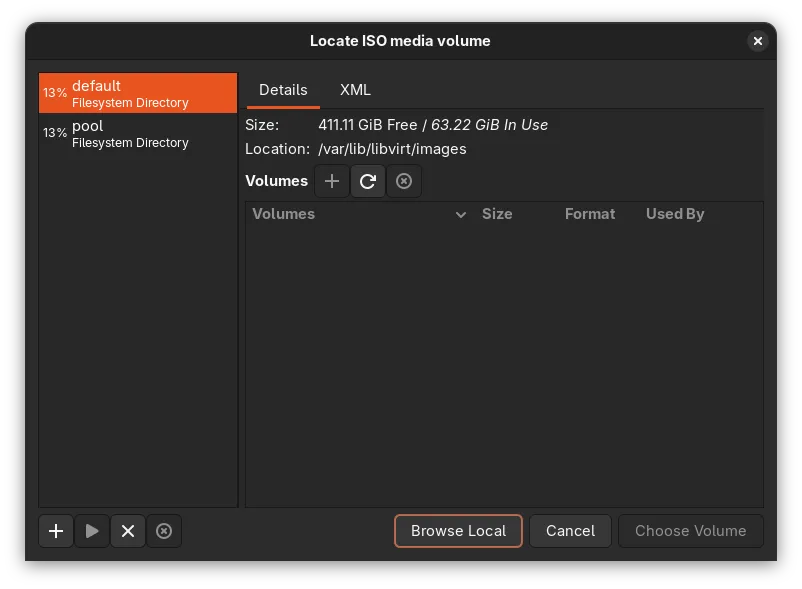
At this step, to avoid confusion, it is recommended to use the Browse Local option.
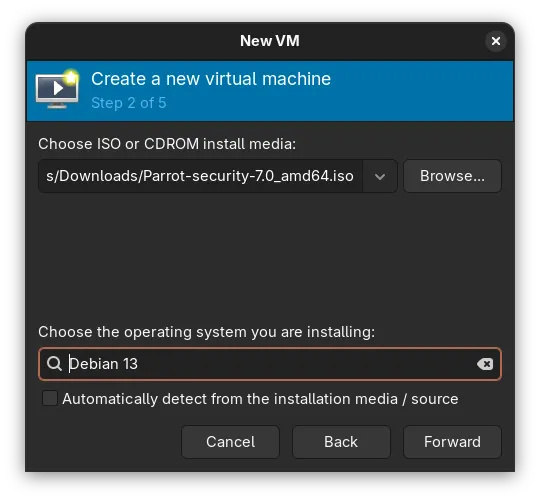
It is important to disable automatic OS detection. You should manually select the option that best matches the distribution your ISO is based on.
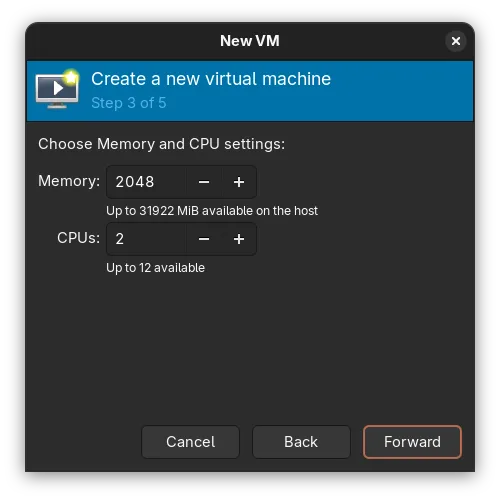
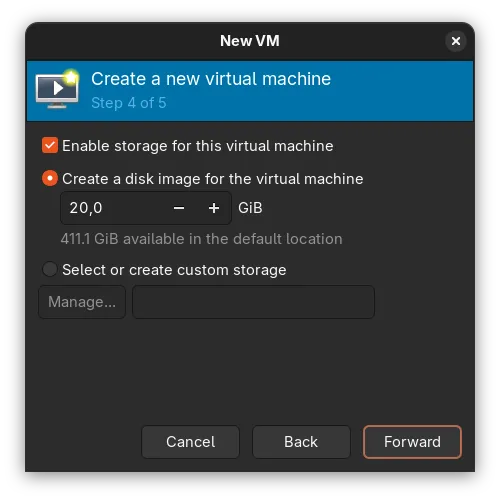
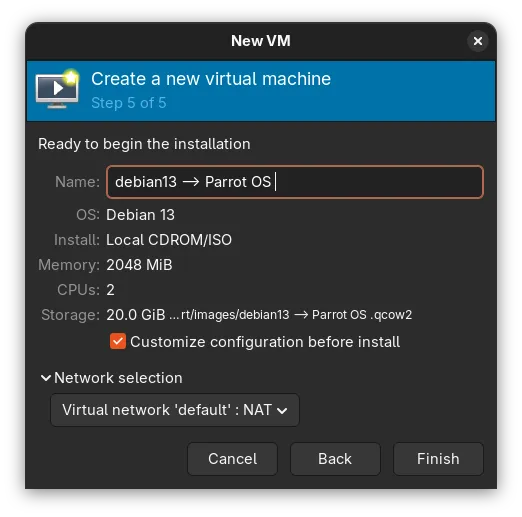
Even if it shows Debian 13, this is still our Parrot OS ISO.
If you select Customize configuration before install, you can access more advanced settings if needed.
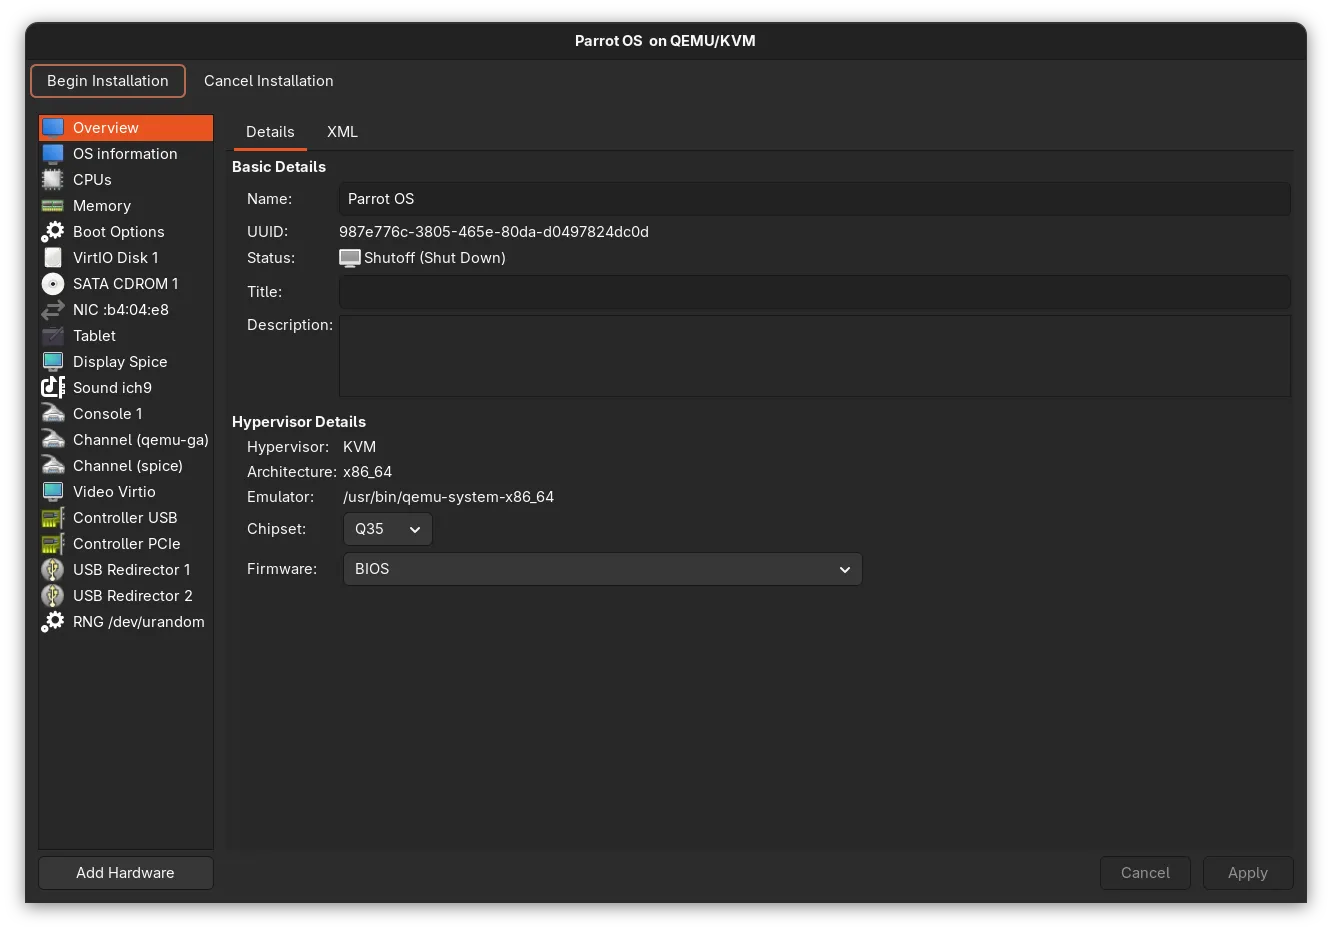
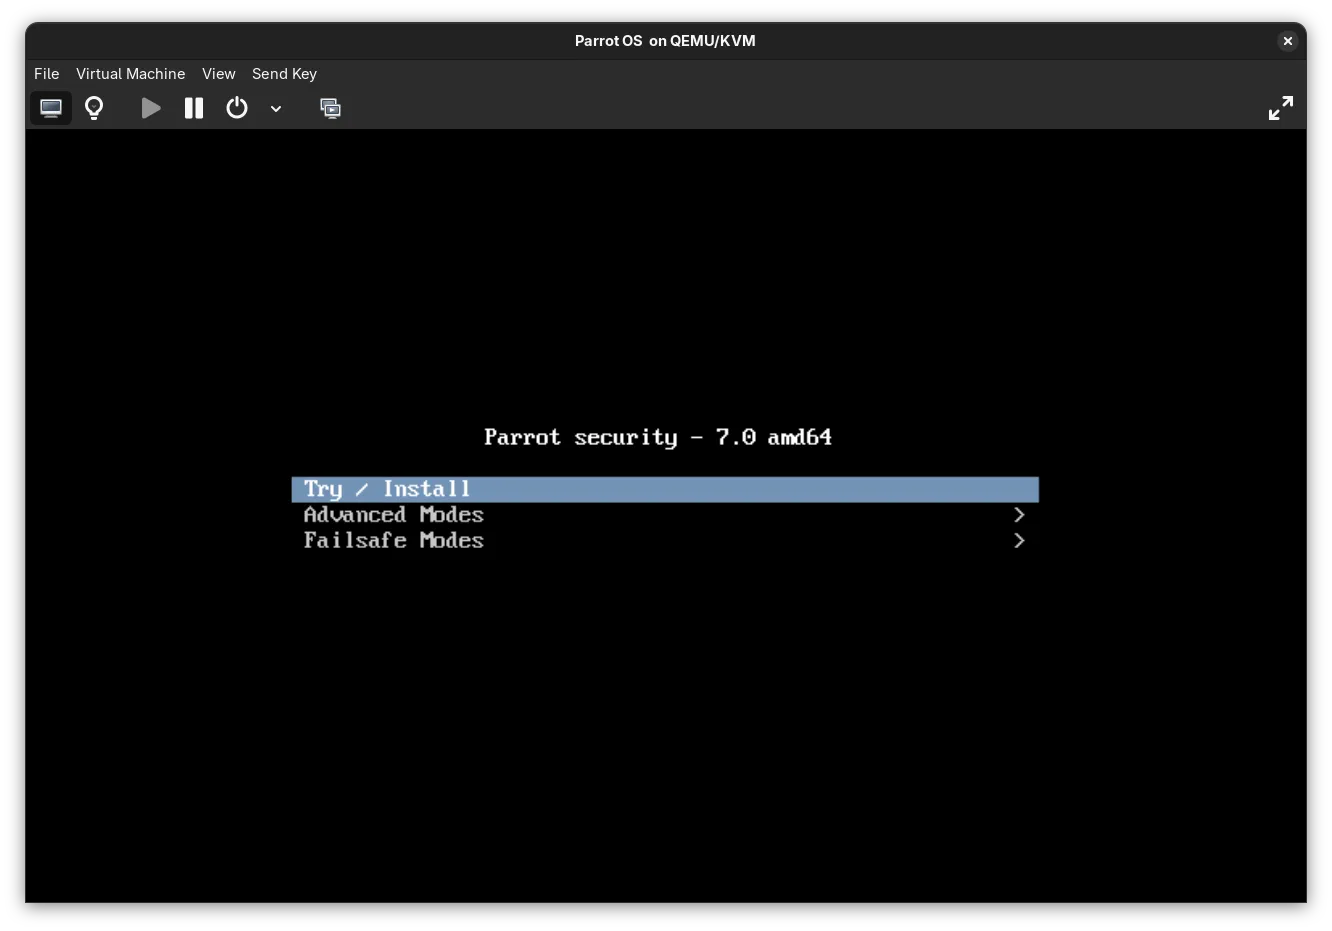
Done. From here, you can follow the standard Parrot OS installation procedure.
If you want to access more advanced settings, double-click on your virtual machine.
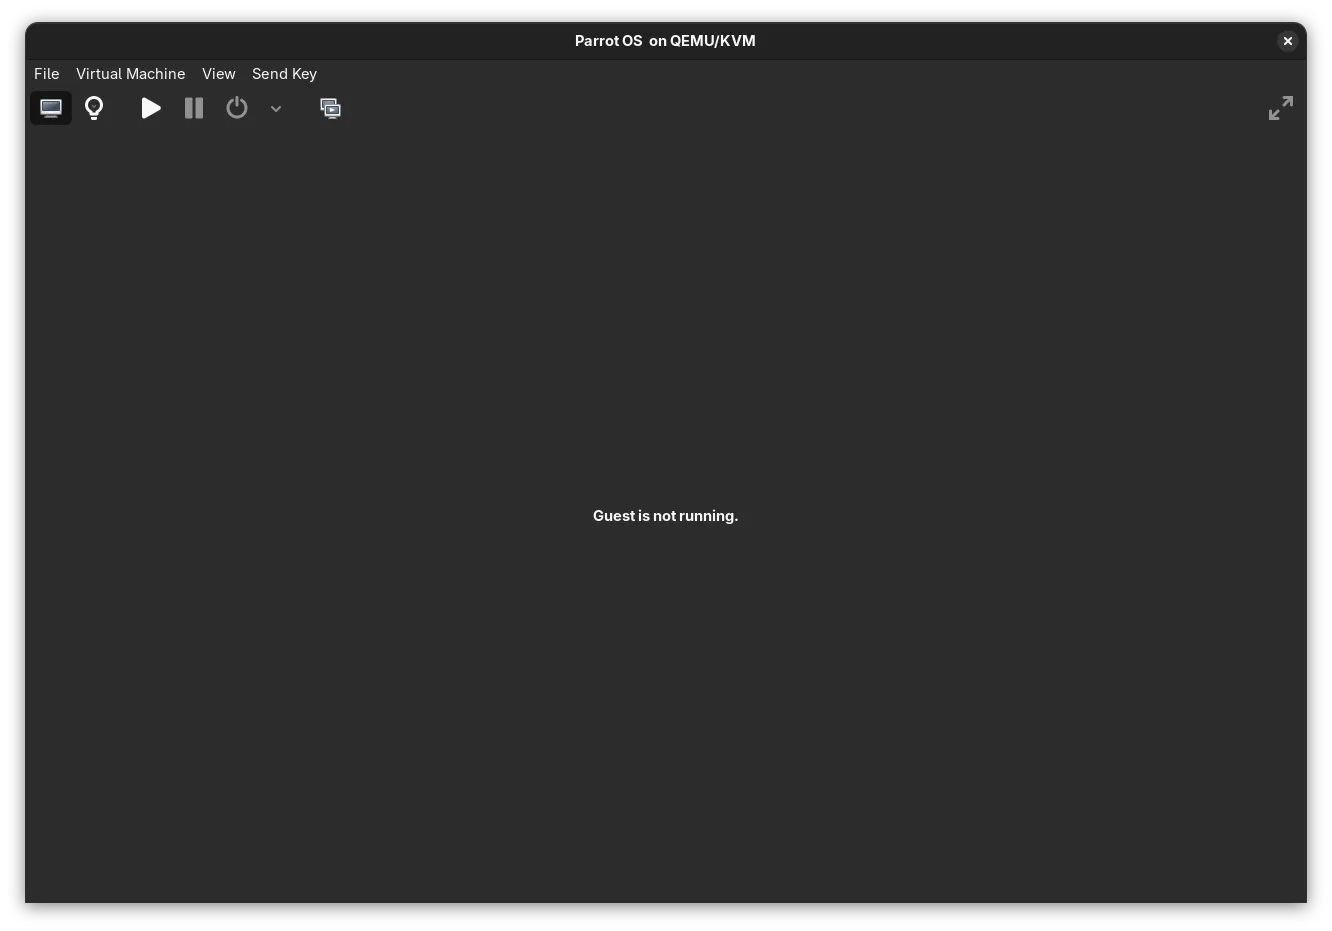
Then click the light bulb icon next to the monitor icon.
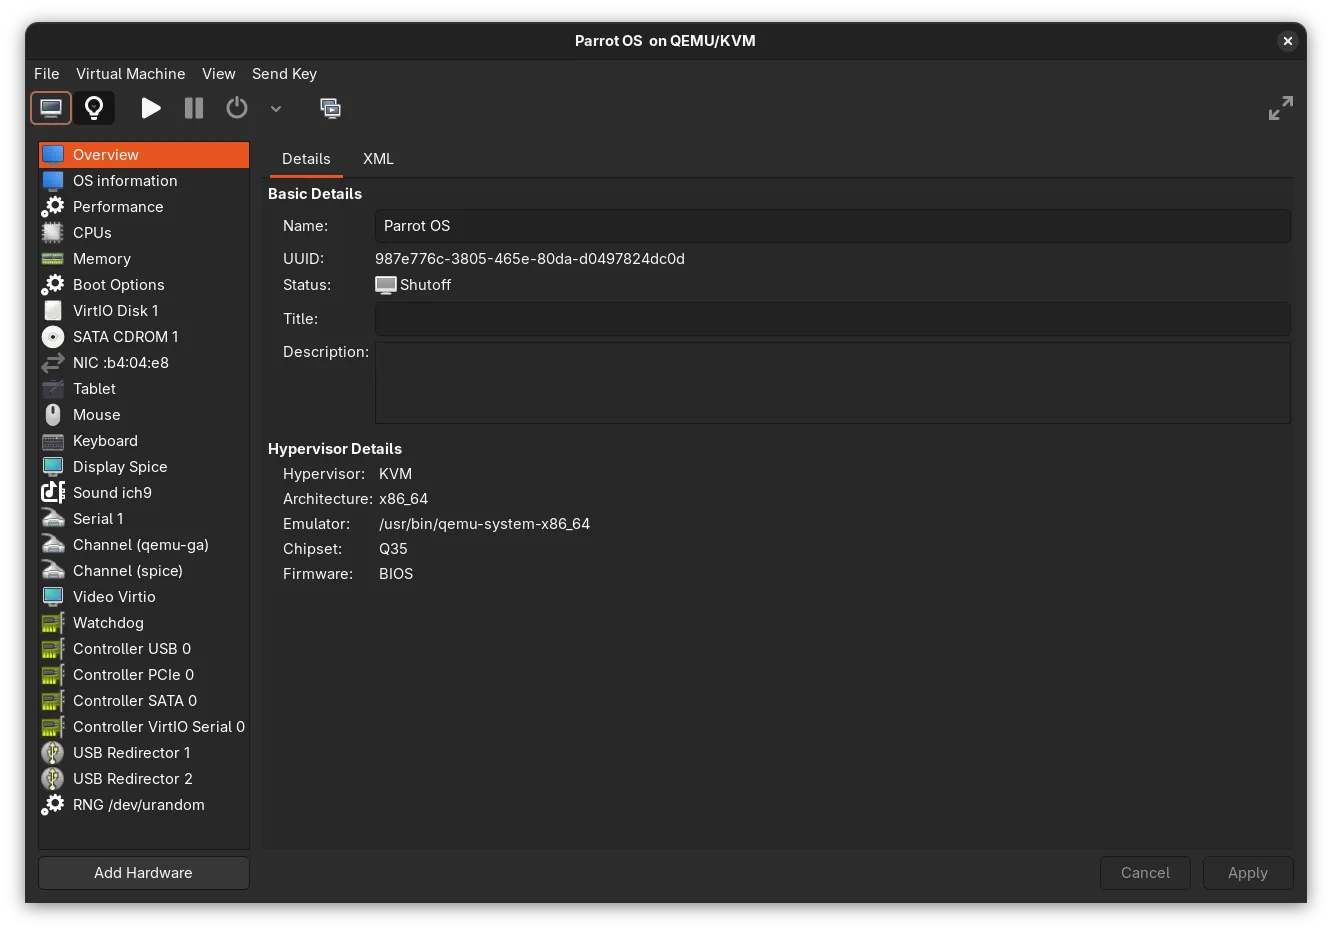
You can also manage snapshots.
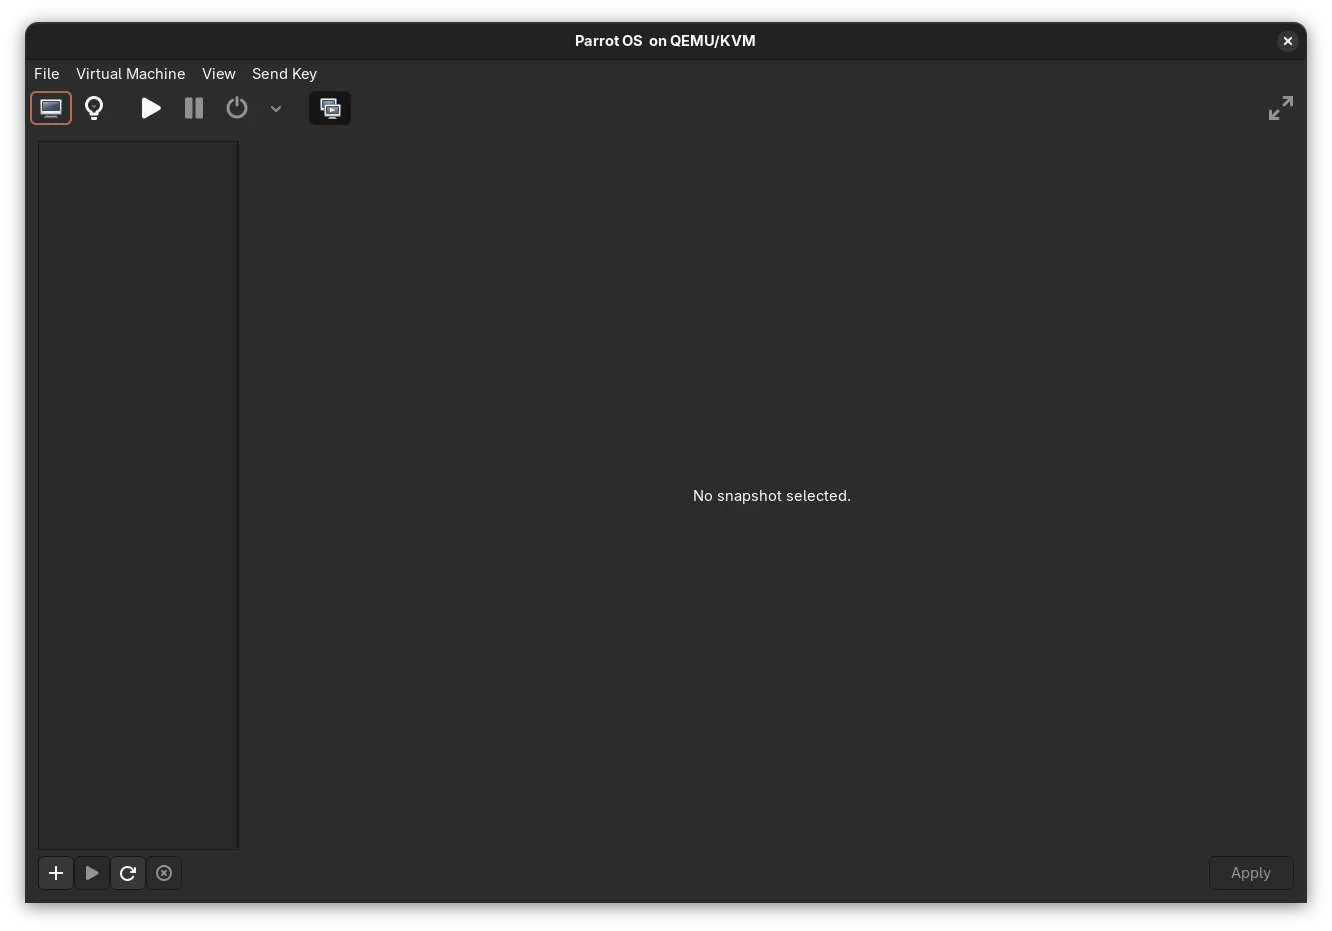
Once the changes are done, you can return to the VM start screen by clicking the monitor icon.